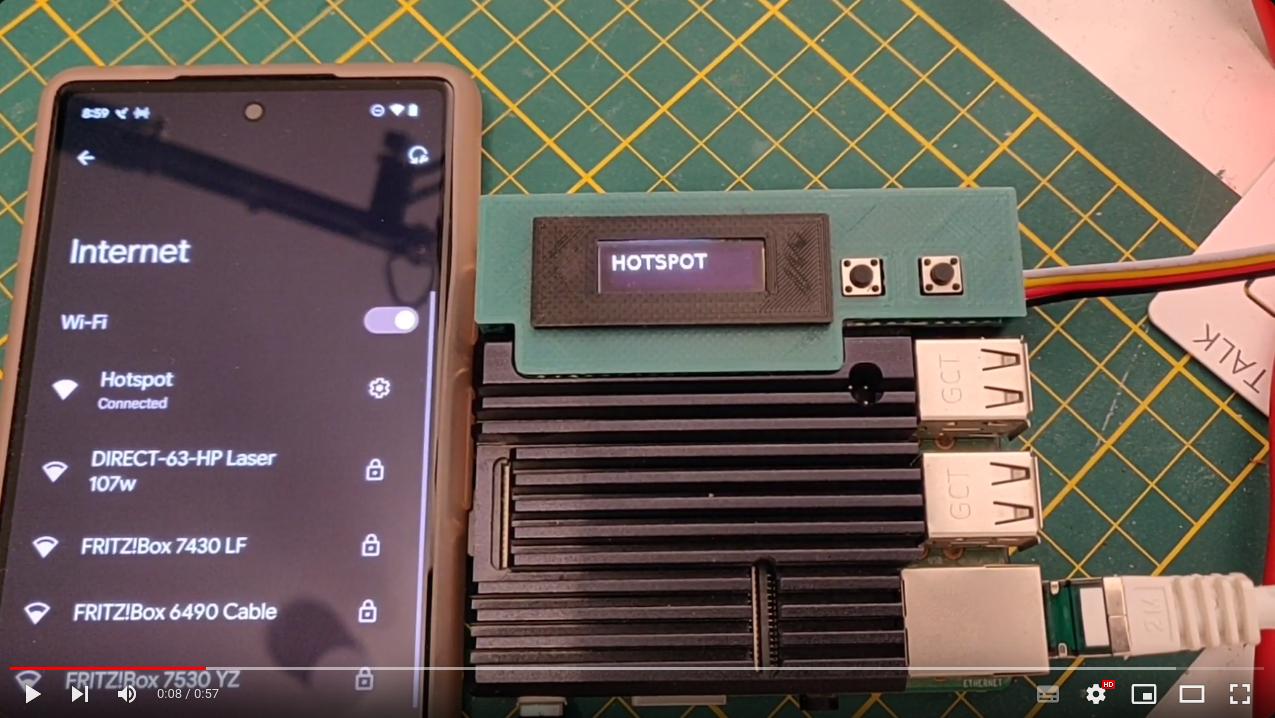
NMCLI Hotspot
This guide is an update of my old guide for creating a Hotspot using legacy Debian commands. The network-manager package (via the nmcli command) simplifies the setup and reduces system overhead, making it ideal for headless devices like servers or RaspberryPi.
Prerequisites
- A system with two network interfaces (e.g., Ethernet
eth0and Wi-Fiwlan0). - The
network-managerpackage installed (providesnmclicommand). - Ensure Wi-Fi supports “AP mode”:
iw list | grep "Supported interface modes" -A 8 | grep "AP"
Hotspot Creation
nmcli con add type wifi ifname wlan0 con-name Hotspot autoconnect yes ssid Hotspot
nmcli con modify Hotspot 802-11-wireless.mode ap 802-11-wireless.band bg ipv4.method shared
nmcli con modify Hotspot wifi-sec.key-mgmt wpa-psk
nmcli con modify Hotspot wifi-sec.psk "veryveryhardpassword1234"
nmcli con up Hotspot
Notes:
- Replace my Hotspot with your desired SSID.
- Use bg band for 2.4 GHz or a for 5 GHz (check adapter support).
Done! you are able to connect to your Hotspot. And also you could up/down the hotspot connection in any moment using the last command line only. You don’t need repeat the previous steps.
Verify Hotspot Subnet
nmcli con show Hotspot | grep ADDRESS
Firewall Considerations
If you have a firewall in your system, the network-manager is shared IP method auto-configures NAT, but maybe your firewall might block traffic. The next are some rules for some services that you could need:
ufw
sudo ufw allow in on wlan0 proto udp port 67  # DHCP
sudo ufw allow in on wlan0 proto udp port 53  # DNS
sudo ufw route allow in on wlan0 out on eth0  # Forwarding
iptables
iptables -t nat -A POSTROUTING -s 10.42.0.0/24 -o eth0 -j MASQUERADE
iptables -A FORWARD -i wlan0 -o eth0 -j ACCEPT
iptables -A FORWARD -i eth0 -o wlan0 -m state --state RELATED,ESTABLISHED -j ACCEPT
Nordvpn Addon
If you also needs that you hotspot runs under a VPN, you can install for instance NordVPN that it has command line capability.
After the nordvpn installation, you also should need add some ports, like this:
nordvpn whitelist add port 22
nordvpn whitelist add port 67
Also you should permit traffic from the Hotspot subnet, for instance:
nordvpn add subnet 10.42.0.0/24
RaspberryPi Launcher Addon
If you wants command the on/off of your hotspot and also choose between different VPN cities or configs, you also could considerate add RaspberryPi Launcher app for your RaspberryPi.